
REVIEW · PHOTOGRAPHY SESSIONS
Amsterdam Photography Masterclass – Private Photography Lesson
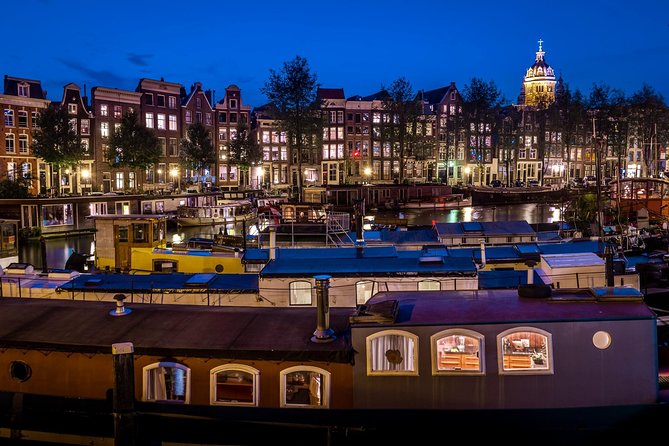
A camera in hand, Amsterdam on full display. This private photography lesson turns iconic spots into practice, with a professional guiding your camera settings and shot choices. You’ll get a focused route packed into about 3 hours, plus options for daytime or evening light.
I love the small-group feel, because feedback lands fast when there are at most 4 people per booking. I also like how the itinerary is built around easy, repeatable stops with short shooting windows, so you learn by doing rather than wandering. A possible consideration: you need to bring your own DSLR camera, and there’s no camera included.
In This Review
- Key Points That Make This Masterclass Practical
- Why Amsterdam Looks Different After a Photo Lesson
- Private Setup: Meeting at Leidsekade and Keeping It Simple
- How the Lesson Actually Works: Short Shots, Fast Feedback
- Day vs Evening Shooting: When to Choose Which Session
- The 3-Hour Route, Stop by Stop (What You’ll Shoot and Why It Matters)
- Stop 1: Statue Amsterdams Lieverdje
- Stop 2: Voetboogstraat (Beijbhof de Voetboogsteeg)
- Stop 3: Leidsegracht Bridges
- Stop 4: Rijksmuseum and Grounds
- Stop 5: Magere Brug (Amstel and the Bridge)
- Stop 6: Nieuwe Kerk
- Stop 7: Blauwbrug
- Stop 8: Nieuwmarkt
- Stop 9: Huis Bartolotti (Museumhuis Bartolotti)
- Gear and Comfort: What to Bring for Best Results
- Price and Value: Is $204.24 Worth It?
- Who This Works For, and Who Might Skip It
- FAQ
- FAQ
- How long is the Amsterdam Photography Masterclass?
- Is this lesson private, and how many people can join?
- Do I need to bring my own camera?
- Are tripods included?
- Is there a choice between daytime and evening?
- Where is the meeting point, and does it run in bad weather?
- Should You Book This Masterclass?
Key Points That Make This Masterclass Practical
- Private, max 4-person format means you get real-time guidance instead of group drift
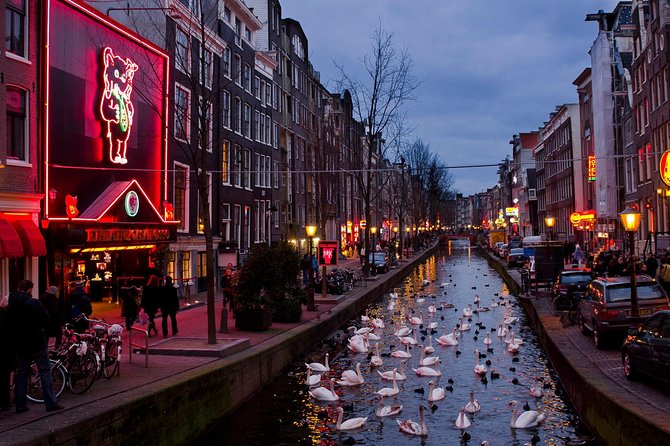
- Day and evening options let you practice for different lighting challenges, including night shooting
- Free admission at each listed stop keeps the day simpler and more predictable
- A short list of photogenic targets helps you plan frames without feeling rushed
- You can request a tripod, but it is not automatic
- Operates in all weather, so dress for rain or chill and keep shooting
Why Amsterdam Looks Different After a Photo Lesson
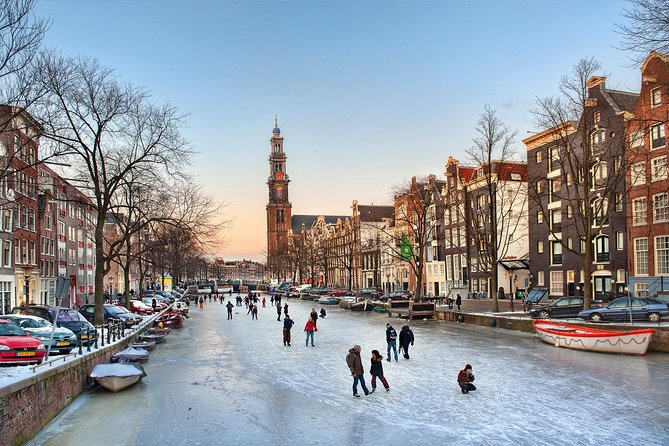
Amsterdam is made for photos, but that does not mean you automatically know what to do with your camera. This masterclass is interesting because it uses the city like a classroom, taking you from one well-known spot to the next while your guide keeps pointing you toward the next good frame.
The value for me is the combination of a local guide and a professional photographer guide. One helps you move through the city well and find the right spots to work, while the photographer helps you actually control what your camera does.
The other big win is timing. With about 20 minutes at each stop, you get enough minutes to try ideas, adjust, and get results, without the lesson dragging on forever.
A handful of other Amsterdam outings
- Amsterdam Canal, Tulip, Windmill Photoshoot | Custom Request
★ 4.9 · 307 reviews - Amsterdam Canal, Tulip, Windmill Photoshoot | Custom Request
★ 5.0 · 147 reviews - Amsterdam: Foam Photography Museum Admission Ticket
★ 4.2 · 141 reviews
Private Setup: Meeting at Leidsekade and Keeping It Simple
Your tour starts at Leidsekade 97, 1017 PN Amsterdam, and it returns you back there at the end. The route is designed for walking, and the meeting point is near public transportation, so you can arrive without turning the day into a logistics puzzle.
This is a private tour/activity with only your group participating. Maximum group size is listed as 4 people per booking, which is a sweet spot for learning because you are not competing for the instructor’s attention.
In past sessions led by instructors such as Renzo and William, people have specifically praised the teaching style and the way they helped with practical settings. That matters because when a guide explains what to change and why, you leave with tools you can use the rest of your trip.
How the Lesson Actually Works: Short Shots, Fast Feedback
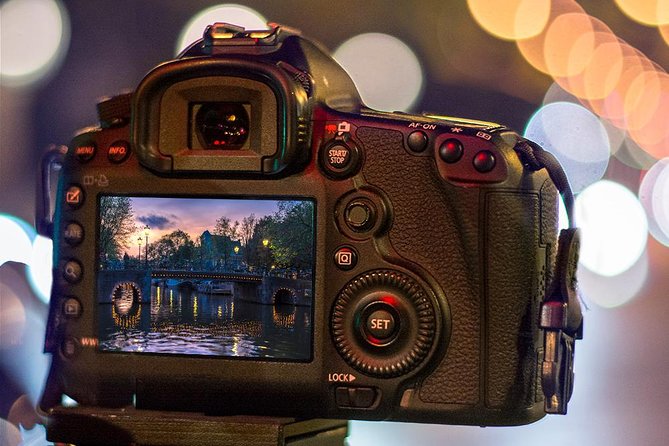
A lot of photo tours show pretty places. This one is built around improving how you shoot those places. You are not just taking photos, you are working through a set of decisions with guidance.
You start with the basics and then you keep applying them immediately. At each stop, you spend time shooting, and your guide gives pointers aimed at your camera and your goals, including help with camera settings. One night-focused session stands out in the feedback, where a participant said they finally got comfortable with night photos after previously struggling.
There is also an element of tailoring. The instruction is not one-size-fits-all, because the lesson is private. If you want tighter compositions, darker moodier shots, or brighter daytime scenes, the instructor can steer you toward workable approaches.
Day vs Evening Shooting: When to Choose Which Session
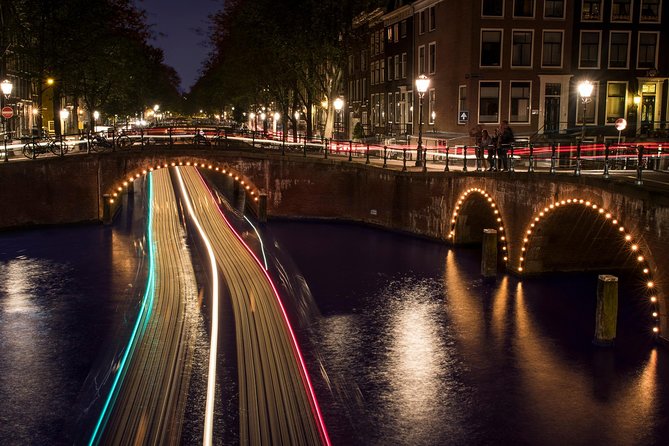
You can choose between daytime and evening tours, and that choice changes what you practice most.
Day sessions are a great fit if you want to focus on composition and getting clean results quickly. Evening sessions are where the learning can feel more dramatic because light levels drop and you have to adjust. In one experience, the guide helped a student learn how to shoot night photos successfully, and that kind of guidance is exactly what you want if you tend to rely on auto mode.
If you are only going to do one photo session, I’d pick based on your camera comfort. If you already know what most of your buttons do, an evening shoot can be the bigger payoff. If you are newer, a daytime session can help you build confidence before you tackle night conditions.
A different way to spend an afternoon around Amsterdam:
- Amsterdam: Van Gogh Museum Ticket
★ 4.7 · 52,054 reviews - Amsterdam: Heineken Experience Ticket including 2 Drinks
★ 4.6 · 36,014 reviews - Amsterdam Classic Saloon Boat Cruise with Drinks and Cheese
★ 5.0 · 31,825 reviews - Amsterdam Luxury Canal Cruise + Unlimited Drinks & Bites option
★ 5.0 · 30,518 reviews
The 3-Hour Route, Stop by Stop (What You’ll Shoot and Why It Matters)
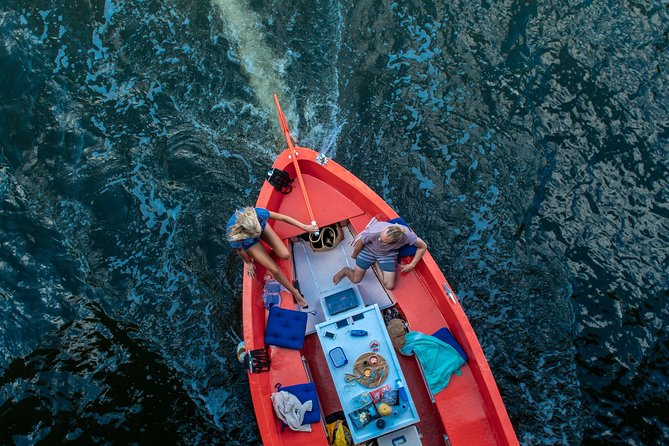
The itinerary is a sequence of focused targets, with a short shooting block at each one. The overall pattern is smart: you practice framing and settings repeatedly, while your guide moves you to the next scene before you lose momentum.
Also, note that the itinerary lists admission tickets for each stop as free, which keeps the day from getting interrupted by ticket lines or extra costs.
Stop 1: Statue Amsterdams Lieverdje
You start at the Amsterdams Lieverdje statue. This is a useful opener because it is a smaller, defined subject compared with broader buildings or canal views. You can experiment with angles and distance without needing a huge viewfinder setup.
A potential drawback here is that early in the tour you might still be getting used to camera settings. If you feel a little slow at the start, that is normal, and your guide’s job is to help you get moving quickly.
Stop 2: Voetboogstraat (Beijbhof de Voetboogsteeg)
Next up is Voetboogstraat, shooting the Beijbhof de Voetboogsteeg. This kind of stop is great for practicing how to handle tighter surroundings, where you need to decide what to include and what to leave out.
Because these shooting windows are short, you’ll want to think before you lift your camera. In other words, decide on one framing idea and run a few variations instead of trying to reinvent everything in 2 minutes.
Stop 3: Leidsegracht Bridges
You head to Leidsegracht to shoot the bridges along the water. Canal bridge scenes are perfect for learning how to balance the subject with the background, especially if you like symmetry or strong leading lines.
The challenge is crowding and movement around water. Even if you cannot control foot traffic, you can control your framing, and your guide can help you pick angles where your composition stays strong.
Stop 4: Rijksmuseum and Grounds
Then it’s the Rijksmuseum, including the museum and grounds. This stop gives you a bigger subject scale, which is great for practicing how your camera handles distance and architectural lines.
One consideration: when you switch from canal scenes to a major landmark, it can be tempting to stay at one spot. Try a couple of standpoints, even if it feels like a small change, because it can dramatically affect how “busy” the background looks in your frame.
Stop 5: Magere Brug (Amstel and the Bridge)
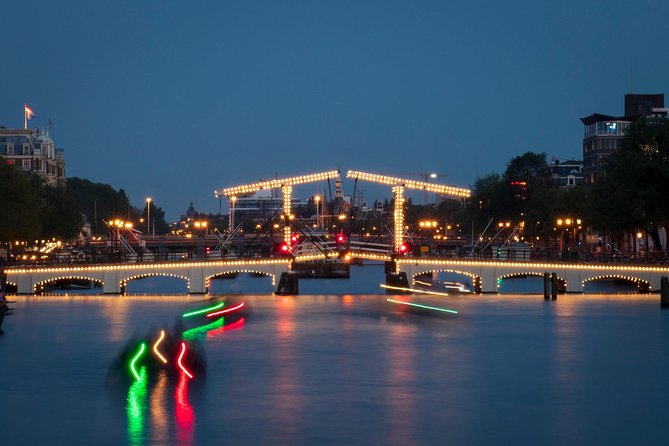
At Magere Brug, you shoot the Amstel and Magere Brug. This is a classic type of photo scene where your settings and your timing both matter, especially on an evening session.
If you are practicing night photography, this stop is likely where you spend time thinking about exposure and how you want lights to appear. If you are on a daytime session, this is a strong place to focus on clean exposure and crisp details.
Stop 6: Nieuwe Kerk
Next is Nieuwe Kerk. Churches and landmark buildings can be tricky because there is often a lot happening in the frame. That makes it an excellent practice stop for deciding what matters in the picture and how to simplify your composition.
A practical approach is to shoot a few wide frames, then look for a tighter angle. Your guide can help you make those decisions based on your style.
Stop 7: Blauwbrug
You then move to Blauwbrug. A bridge stop is useful because it lets you repeat the “water plus structure” theme without exactly repeating the same scene. Repetition helps you learn faster.
Since the time block is short, focus on one theme for the shot, like a strong vertical element or a cleaner horizontal composition. Your guide’s feedback can help you choose what is most achievable.
Stop 8: Nieuwmarkt
At Nieuwmarkt, you shoot the area around the square. This is where you can practice photographing places that feel lived-in rather than only monumental.
The tricky part with square scenes is that they can turn into “everything in one photo.” If your goal is a more intentional look, ask your guide for help simplifying what you include.
Stop 9: Huis Bartolotti (Museumhuis Bartolotti)
You end with Huis Bartolotti, also listed as Museumhuis Bartolotti. This stop is a nice way to wrap because it gives you a focused subject at the end of the route. You can use the final minutes to lock in what you learned and try one more framing idea.
If you have a DSLR and you have been experimenting with settings, the last stop is a chance to apply your improvements when you feel more confident.
Gear and Comfort: What to Bring for Best Results
You should bring your own DSLR camera. A camera is not included, and that is worth saying clearly because this is not a point-and-shoot lesson. If you do not have a DSLR, you may need to plan differently.
A tripod is available upon request, so if you want steadier shots, especially for evening work, ask ahead of time or mention it during the tour setup. Even if you do not use a tripod, the guided instruction can still help you get better results hand-held.
Also plan for weather. The experience operates in all weather conditions, so dress appropriately. Think layers you can move in, and shoes that work on Amsterdam sidewalks.
Price and Value: Is $204.24 Worth It?
At $204.24 per person for about 3 hours, this is not a budget add-on, but it can be good value if you care about learning instead of just collecting photos.
Here’s why the pricing can make sense. You are getting a private tour, plus both a local guide and a professional photographer guide. You also get a route that is organized for teaching, with frequent short shooting blocks that keep you practicing.
The itinerary also lists free admission for each stop, and that reduces hidden costs. So while you pay for instruction, you are not also paying for entry tickets at multiple points.
The best sign of value shows up in the kind of feedback the guides receive. People have praised how guides took time to teach, how they helped with camera settings, and how they produced better night shots quickly. If you want tangible improvement over a few hours, this format is one of the more direct ways to get there.
Who This Works For, and Who Might Skip It
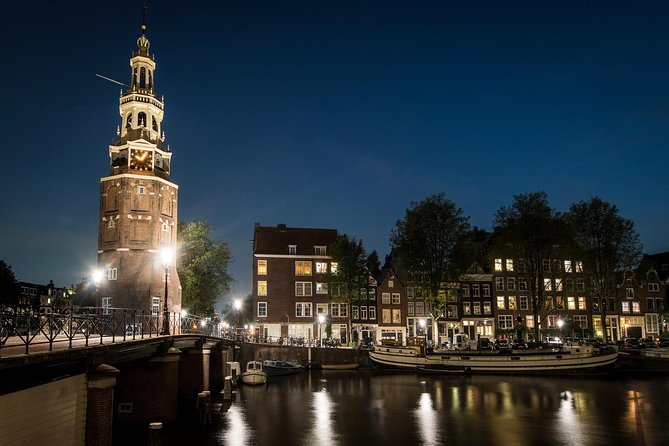
This masterclass is a great fit if you:
- want a guided photo plan through Amsterdam’s big photo spots
- have a DSLR and want help using it better
- prefer day or evening practice instead of random shooting
- like the idea of a private, max 4-person experience
It may be less ideal if you:
- do not have a DSLR and do not want to borrow or rent one
- want lots of free time to roam without instruction
- dislike walking in variable weather, even though the tour runs in all conditions
If you are the kind of photographer who already knows your camera well, you might still enjoy the organized practice and location-specific prompts. But you should expect hands-on coaching rather than a casual walk.
FAQ
FAQ
How long is the Amsterdam Photography Masterclass?
It runs for about 3 hours.
Is this lesson private, and how many people can join?
Yes, it is private, and the maximum group size is 4 people per booking.
Do I need to bring my own camera?
Yes. You should bring your own DSLR camera. A camera is not included.
Are tripods included?
A tripod is not included, but it is available upon request.
Is there a choice between daytime and evening?
Yes, you can choose between daytime and evening tours to fit your schedule.
Where is the meeting point, and does it run in bad weather?
You meet at Leidsekade 97, 1017 PN Amsterdam. The experience operates in all weather conditions, so you should dress appropriately.
Should You Book This Masterclass?
Book it if you want a structured way to get better photos fast, with real guidance on camera settings and practical shooting at classic Amsterdam spots. The private format and the short shooting blocks make it feel efficient, not floaty.
Skip it only if you expect a casual sightseeing walk with no real focus on photography, or if you cannot bring a DSLR. If you can bring the camera and you want to leave with more than just memory, this is a strong choice.
Newest bookings around Amsterdam
- Amsterdam Breakfast Cruise on Private Luxury Boat★ 5.0 · 5 reviews
- Amsterdam-West Food Tour with local guide★ 5.0 · 16 reviews
- Van Gogh Museum Tour excluding Entrance Tickets★ 5.0 · 16 reviews
- Van Gogh Museum with Audio Guide★ 3.5 · 80 reviews
- Amsterdam: Explore the Van Gogh Museum & His Masterpieces★ 3.5 · 64 reviews
- Van Gogh Museum Ticket with Audio Guide and Unlimited Access Time★ 5.0 · 25 reviews
- Van Gogh Museum Entry Ticket and Guided Tour★ 4.5 · 48 reviews
- Van Gogh Museum Private Tour★ 5.0 · 5 reviews
Photography Sessions, compared.
Amsterdam Canal, Tulip, Windmill Photoshoot | Custom Request
Read our review →Amsterdam Canal, Tulip, Windmill Photoshoot | Custom Request
Read our review →
Premium Romantic Photoshoot Experience for Couples
Read our review →
Personal Travel and Vacation Photographer Tour in Amsterdam
Read our review →
Browse the lists this tour appears in